Live detail
From within the Media Manager Library, the live details screen can be accessed by clicking any live icon or name.

From within the live details section, you can delete the event, access to embed code, or preview your live stream with these buttons.
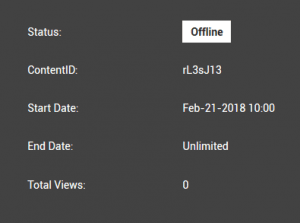
Live stream information can be found near the center of the live details screen. It consists of:
Status: Online or Offline The status will change to Online when your live encoder is connected and pushing a stream.
Total Views: A quick count of how many times the live stream has been viewed.
And the start and end date (if designated).
Now that you’re encoding, let’s look at some of the other panels and options available in the live details screen.
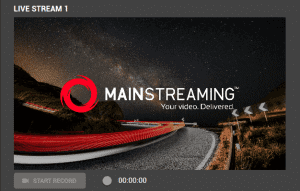
The live preview window is a quick and easy way to ensure your live stream is working. When your stream goes live, the live preview player will show your live stream. From this window, you can start recording your stream for later use on-demand. You can start recording at any time by pressing the button.
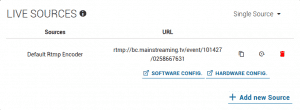
Before you can use your live stream, you must first designate a stream source. Look for live sources panel. Within this panel, you can designate whether you’d like to create a single ingest source (with or without backup), and multi-source.
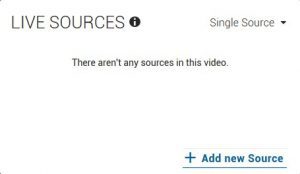
Once you’ve made your choice, click the Once clicked, the select source configuration screen will open. For live video streams, MainStreaming ingests via RTMP. Click Default Rtmp Encoder (RTMP) to create a new stream source and click the button.

The live details screen will now show a live ingest point (URL) for you to point your encoder. During encoder configuration, you will want to use MyStream as your stream name. You may now start pushing your live stream to MainStreaming.
There are many options available for embedding or sharing your media. From within the video details screen, click on the Embed button. The Customize Embed Code window will open.
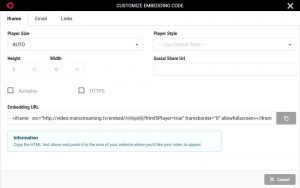
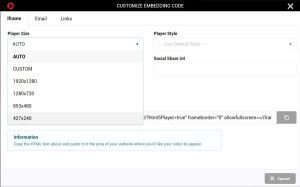
Start by choosing the native player size or choose CUSTOM to enter your own values.
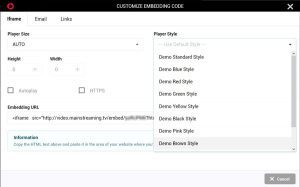
Then choose your player style. If no style option is chosen, the player will use Media Managers default.
With the landscape of the Internet ever changing, the use of HTTPS for website and media delivery is becoming more common. With these checkboxes, you can enable whether you’d like the media to play automatically on load, and whether you’d like MainStreaming to deliver the player via HTTPS.
Once your satisfied with the options available, select the COPY button. The embed code will be copied to your computers clipboard.

The embed code can now be pasted and shared within your website.
You can instantly email your video from the Email tab. Enter your full name and email address. In the “To:” field, enter the recipients email address.
Options are available to limit the amount of times the media can be played and whether you’d like the link to expire. You may also include a personal message.

When complete, click the Send Email button in the lower right.
Embed options for linked to your live event directly or using your own player, are available within the Links tab.

If you choose to use your own player, you’ll want to copy the Media Link.

While we recommend the use of iFrame embed code, you can link directly to the content by using the Content Link on this screen.

Prior to embedding or linking to media, we recommend using the Preview feature. The preview button is found on the live details screen.
If at any time you need to return to the Media Manager Dashboard, click the MainStreaming logo in the upper left corner.
Live events and streams can be deleted from the library screen using the trash can icon (shown below) or within the video details screen by clicking the Delete button.
Once your library of on-demand and live events grows, entering information (often called meta data) is vital. From this tile, you can override the original attributes of your stream which consist of a start date/time and whether your live stream is ongoing or has an end date. We recommend entering a description and notes as they’re used by the Media Manager search feature.

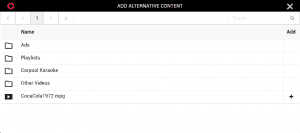
When your live stream is offline, you can designate alternative content to display. Click the button.
From the ADD ALTERNATIVE CONTENT panel, you can choose an on-demand video file or playlist. To create a new playlist, please see the Create A Playlist section

Click the + sign to add alternative content.
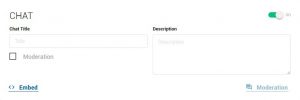
An option for live chat can be enabled with you live stream. You must turn the chat feature on before you can enter a title or description. When ready to embed your chat window, click the Embed button.
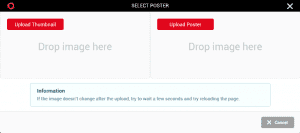
To upload a poster or thumbnail to your live event, look for the Thumbnails Panel and click the upload button.
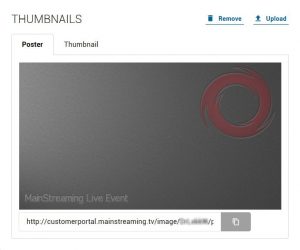
From the Select Poster window, you can upload a thumbnail or poster.
